|
Charlie Chan at the Wax Museum (1940)

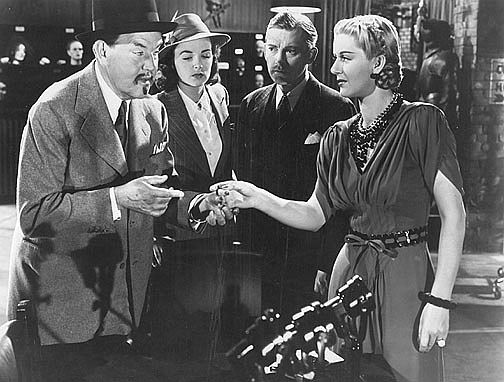
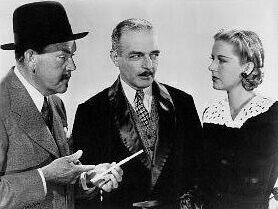
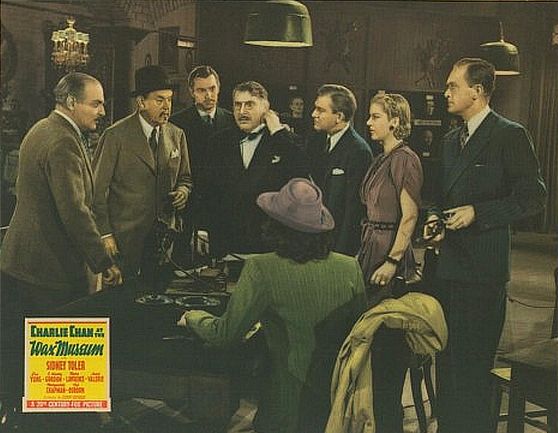
Lily Latimer, Steve McBirney, Charlie Chan, and reporter Mary Bolton in a fanciful
pose.
Publicity Still
(8 x 10 inches)
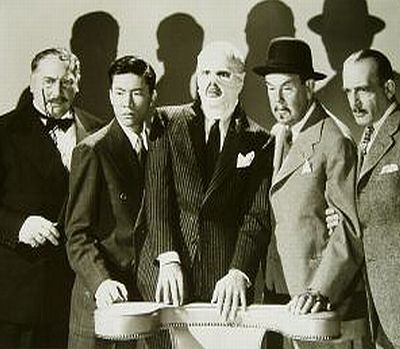
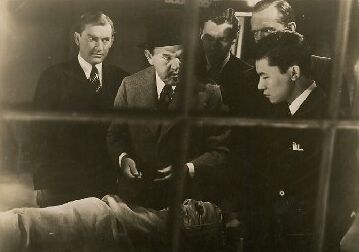
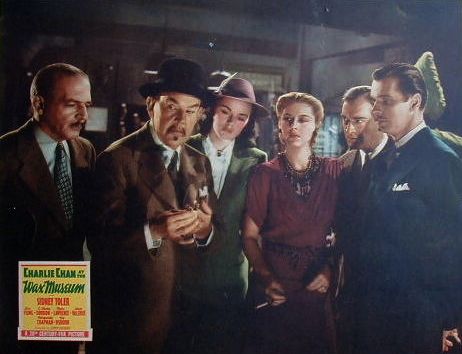
A very fanciful grouping: Dr. Otto von Brom, Jimmy Chan,
Steve McBirney in bandages, Charlie Chan and Dr. Cream.
Publicity Still
(8
x 10 inches)
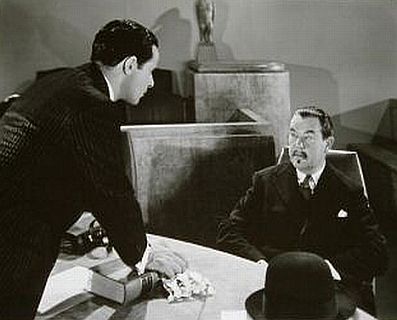
Steve McBirney, just convicted of murder, in large measure from evidence
offered by Charlie Chan, threatens
revenge on the detective. Note the hand-torn paper dolls, McBirney's "trademark,"
dropped in the table.
Publicity Still
(8 x 10 inches)
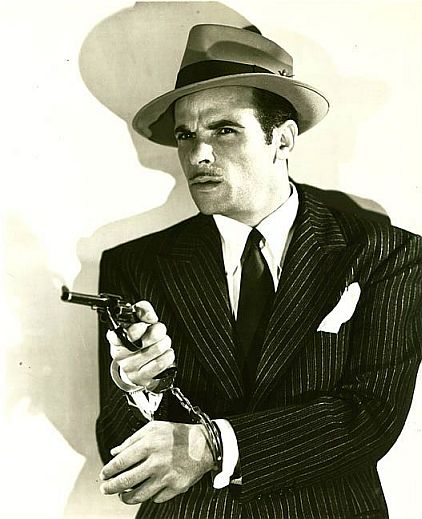
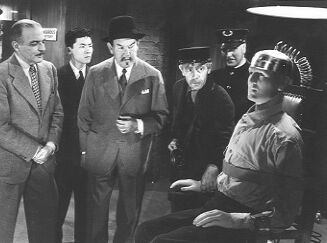
Just convicted of murder on evidence supplied by the efforts of Charlie Chan,
a handcuffed Steve McBirney makes his
escape after taking a bailiff's gun.
Publicity Still
(10 x 8 inches)
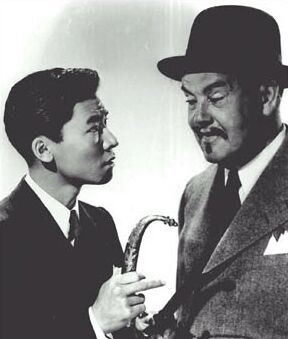
Charlie Chan with son Jimmy.
Publicity Still
(10 x 8 inches)
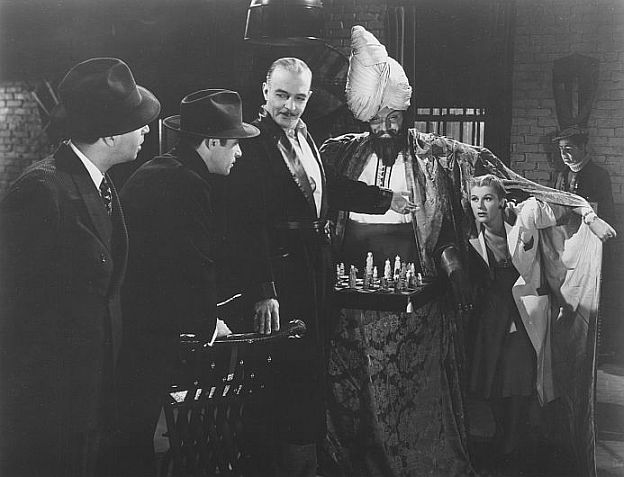
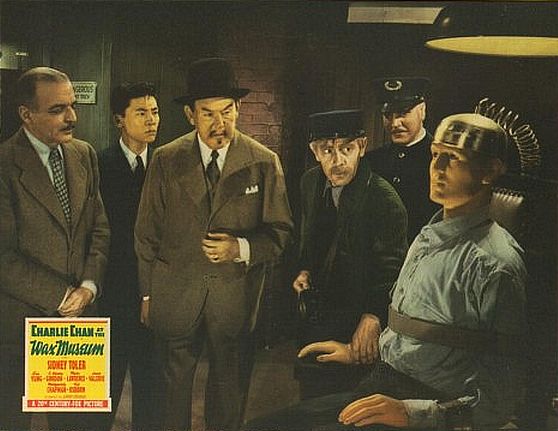
As Steve McBirney and Grenock look on, Dr. Cream revels the "works"
of the mechanical chess playing man to be his assistant, Lili Latimer.
Publicity Still
(8 x 10 inches)
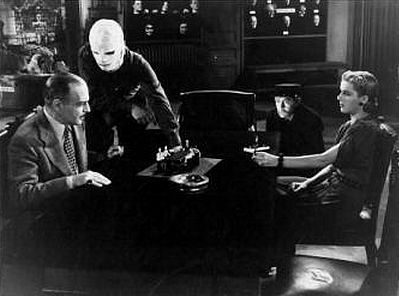
A bandaged Steve McBirney lays down his deadly plans for Charlie Chan
to Dr. Cream and Lily Latimer as guard Willie Fern looks on.
Publicity Still
(8 x 10 inches)
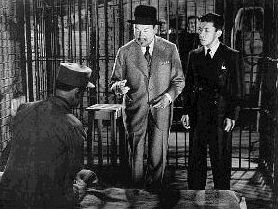
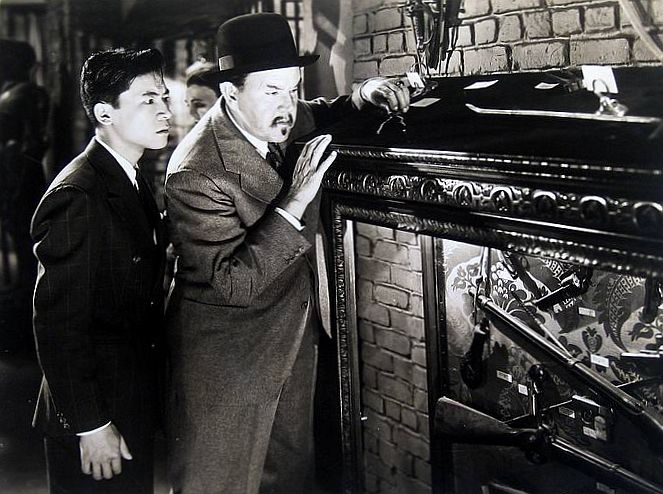
As guard Willie Fern looks on, Dr. Cream shows Charlie Chan and Jimmy one of
his museum's displays.
Publicity Still
(8 x 10 inches)
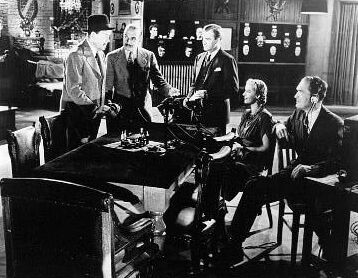
Preparations are made for the live radio broadcast of the "Crime League" from Dr. Cream's wax museum.
Publicity
Still
(8 x 10 inches)
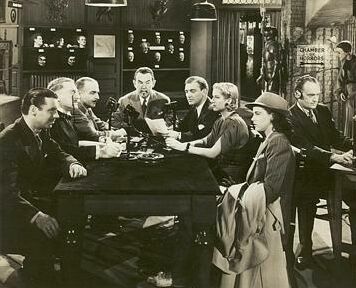
The "Crime League" goes on the air.
Publicity Still
(8 x 10 inches)
Charlie Chan explains how a small blowgun was used to kill Dr. von Brom.
Publicity Still
(8 x 10 inches)
Charlie Chan questions Lily Latimer about a slight injury to her finger.
Publicity
Still
(8 x 10 inches)
Contributed by William Armstrong
Jimmy Chan tells his Pop that there had been a second wax dummy standing there earlier.
Publicity Still
(8 x 10 inches)
With Jimmy's help, Charlie Chan discovers a hidden light switch.
Publicity
Still
(8 x 10 inches)
Dr. Cream tries to explain the purpose
of the secret chamber beneath his wax museum.
Publicity Still
(8 x 10 inches)
Contributed by William Armstrong
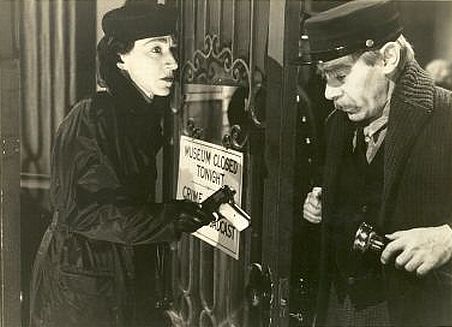
Mrs. Joe Rocke speaks with museum guard Willie Fern.
Publicity Still
(8 x 10 inches)
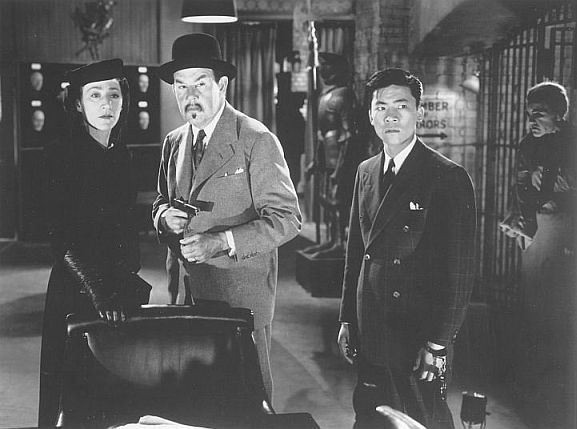
Charlie Chan and son Jimmy with Mrs. Joe Rocke during a tense moment.
Publicity Still
(8 x 10 inches)
Contributed by Gene Lue
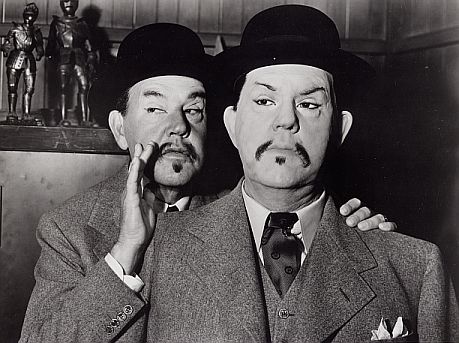
Charlie Chan with "Charlie Chan."
Publicity Still
(8 x 10 inches)
The body of another murder victim, McBirney,
is found by Jimmy Chan.
British Lobby Card
(8 x 10 inches)

This keybook production still shows a
portion of the interior of Dr. Cream's Museum of Crime.
Keybook Still
(8 x 10 inches)
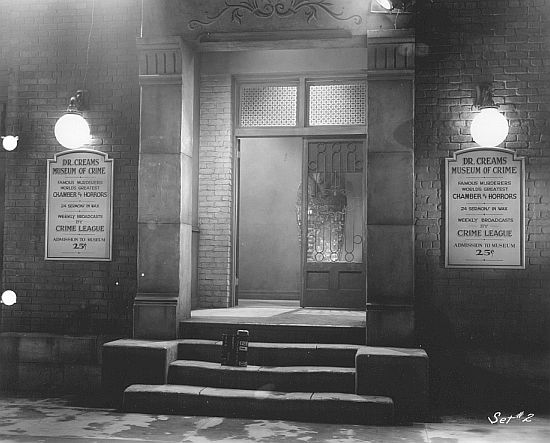
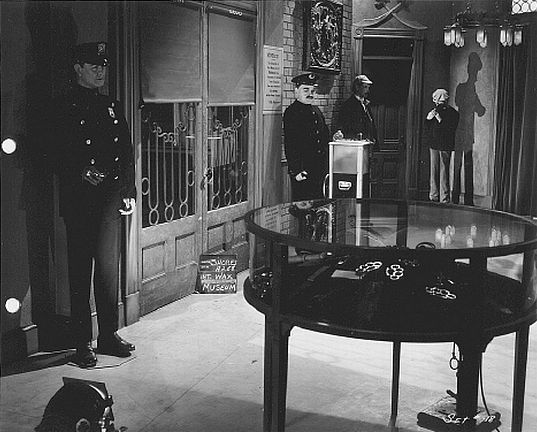
This keybook production still shows the entrance
of Dr. Cream's Museum of Crime.
Keybook Still
(8 x 10 inches)

This keybook production set still
shows a portion of the interior of
Dr. Cream's Museum of Crime, including
the wax figure of Joe Rocke.
Keybook Still
(8 x 10 inches)
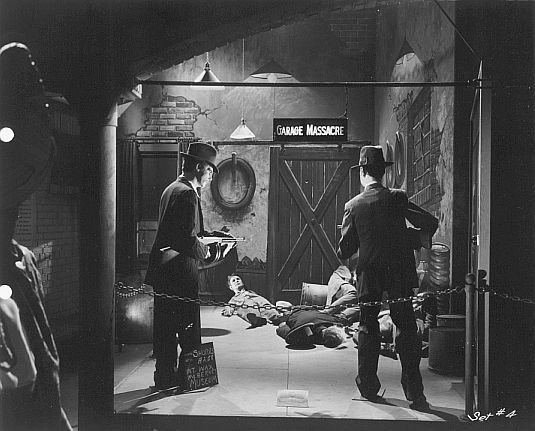
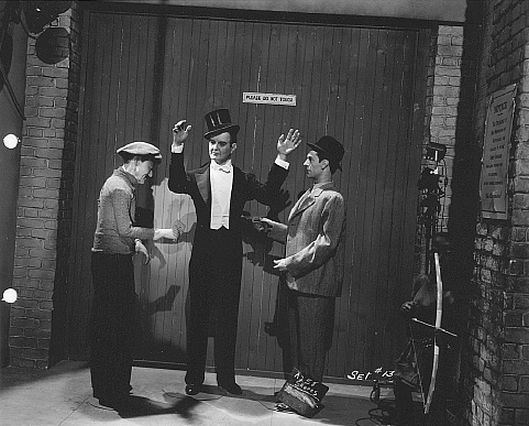
This keybook production set still
shows the "Garage Massacre" exhibit at Dr. Cream's
Museum of Crime. The wax figure
to the left bears a striking resemblance to Steve McBirney.
Keybook Still
(8 x 10 inches)
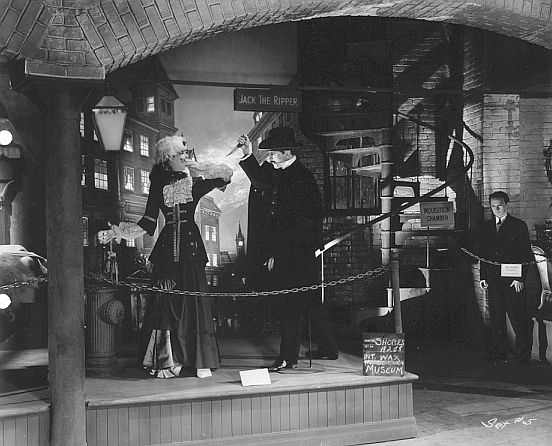
This keybook production set still
shows the "Jack the Ripper" exhibit at Dr. Cream's
Museum of Crime, with the wax figure
of Joe Rocke standing off to the right.
Keybook Still
(8 x 10 inches)
This keybook production set still
shows a portion of the interior of
Dr. Cream's Museum of Crime featuring
a "hold-up" tableau.
Keybook Still
(8 x 10 inches)
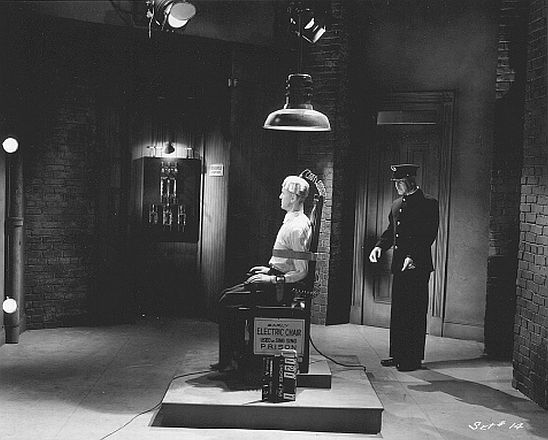
This keybook production set still
shows a portion of the interior of Dr. Cream's Museum
of Crime,
including the wax figure of "Red" Maddox,
seated in the Sing Sing prison electric chair.
Keybook Still
(8 x 10 inches)

This keybook production set still
shows a French Guillotine exhibit at Dr. Cream's Museum of Crime.
Keybook Still
(8 x 10 inches)
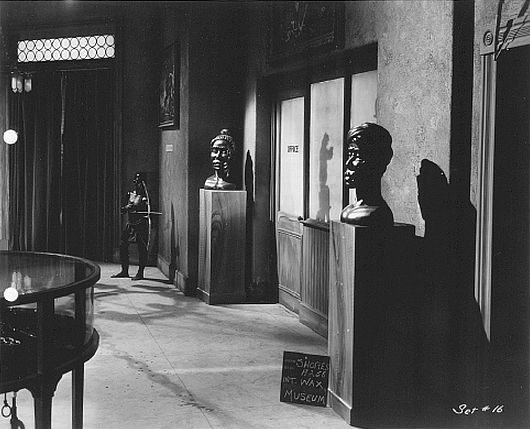
This keybook production set still shows a portion of the
interior of Dr. Cream's
Museum of Crime featuring two busts,
one on either side of the museum office entrance.
Keybook Still
(8 x 10 inches)
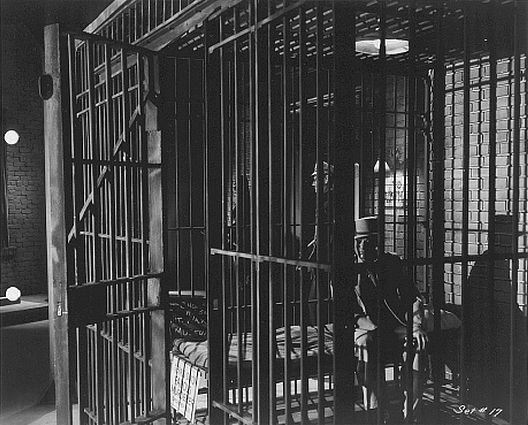
This keybook production set still shows a portion of the
interior
of Dr. Cream's Museum of Crime featuring the prison cell tableau.
Keybook Still
(8 x 10 inches)
This keybook production set still shows the interior of
the entrance to
Dr. Cream's Museum of Crime. Please
note the brass knuckle display.
Keybook Still
(8 x 10 inches)
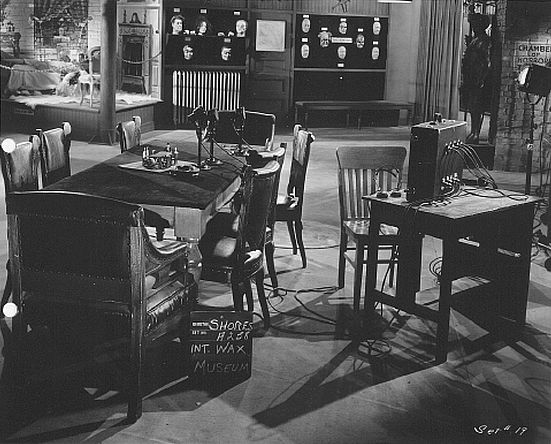
This keybook production set still shows the table
in the interior of Dr. Cream's
Museum of Crime where the "Crime League"
radio brodcast would take place.
Keybook Still
(8 x 10 inches)
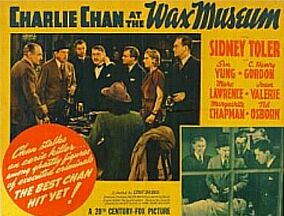
As guard Willie Fern looks on, Dr. Cream shows Charlie Chan and Jimmy one of
his museum's displays.
Lobby Card
(11 x 14 inches)
During the "Crime League" live radio broadcast, Dr. von Brom is suddenly
overcome by something, then dies.
Lobby Card
(11 x 14 inches)
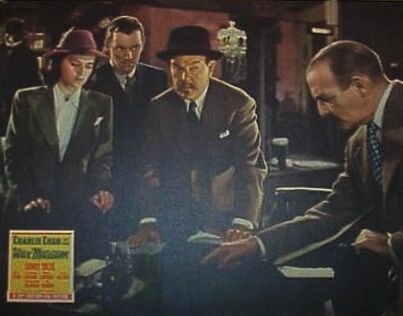
Dr. Cream points out what appears to
be a toothpick on the table near the spot
where the murder took place during the
live "Crime League" radio broadcast.
Lobby Card
(11 x 14 inches)
Charlie Chan explains the method used
by the murderer.
Lobby Card
(11 x 14 inches)
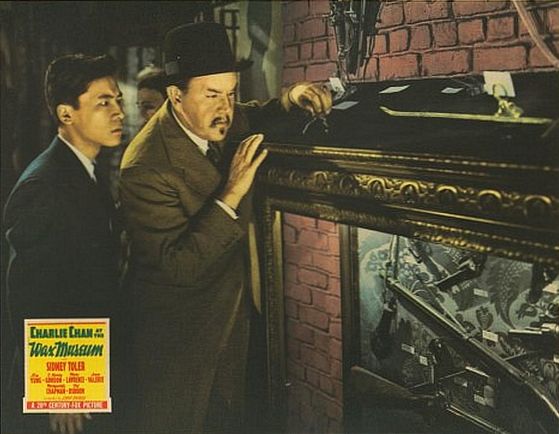
With Jimmy's help, Charlie Chan discovers a hidden light switch.
Lobby
Card
(11 x 14 inches)
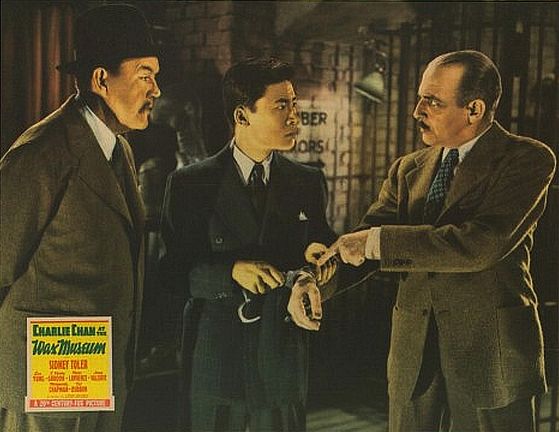
Dr. Cream expresses his outrage as Jimmy
Chan handcuffs him to himself.
Lobby Card
(11 x 14 inches)
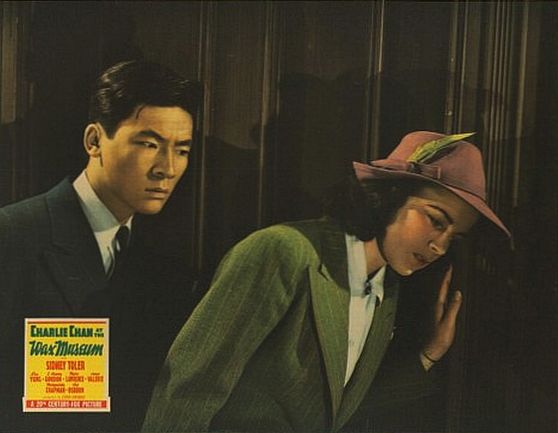
Jimmy Chan and reporter Mary Bolton listen
at a door.
Lobby Card
(11 x 14 inches)
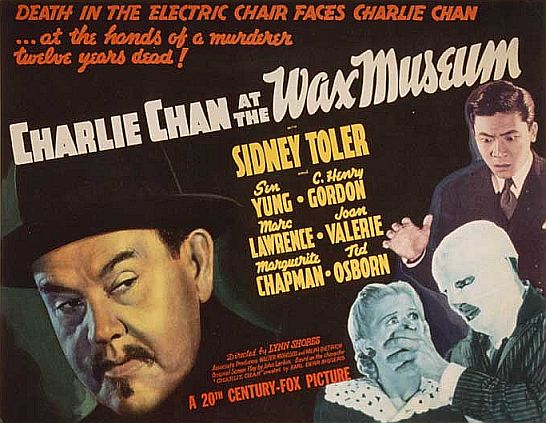
Charlie Chan at the Wax Museum
Title Card
(11 x 14 inches)
Charlie Chan at the Wax Museum
Half Sheet Poster
(22 x 28
inches)
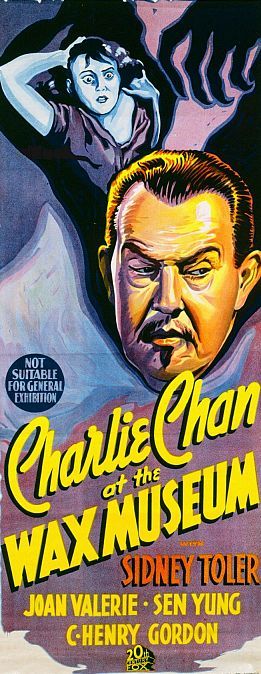
Charlie Chan at the Wax Museum
Australian Daybill Poster
(15 x 35 1/2 inches)
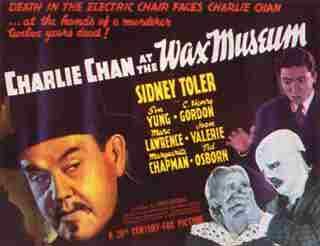
Charlie Chan at the Wax Museum
Half Sheet Poster
(22 x 28 inches)
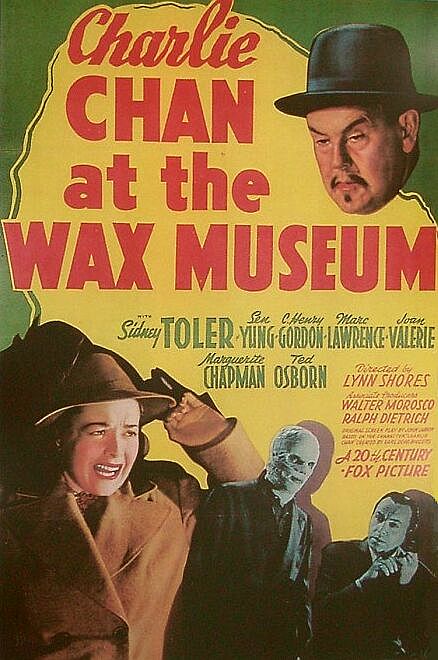
Charlie Chan at the Wax Museum
One Sheet Poster
(41 x 27 inches)


|